Here are a few photo's of my workshop in the basement. Just mounted a vice on corner workbench, not as good as the one I had in SD but it will do just fine. This used to be Jim's old workshop until we built the new garage with side wood-shop for all his awesome projects.
Started on the base for feet. Took the seats from original PW car and cut in half. Then noticed an interesting concept with the back rest flipped over, could pass for a foot. Processed a few ideas in my head and came up with idea for using both parts of each seat as Foot bases. Going to use some rubber mat material for sole, great for traction, and maybe add some blocks to gain 6 to 8 inches in overall height.
Modified the tire that mounts onto shoulder, cut out 2 inches of center tread to make it thinner. Here is a before and after photo with shoulder tire mounted. Also worked on doors some. Hopefully I can finish doors enough to primer and start the two-tone black and white coats. Will order decals for doors with next paycheck.
Primer a few parts. Started on shoulder and assembled together hood pins.
Using elbow pads for shoulder tire mounts. Made a bracket from 90 degree L bracket and bolted it to elbow pads. Measured and strapped with rivets to backpack harness.
Might have to cut wheel down to a thinner size, too much mass. Weight not an issue, the wheels are hollow, just too bulky. The inside of blue tape marks is how much I will trim off.
Modified the back assembly again to reduce weight and width.
Now there is room for wheels to attach onto shoulders and still have room to maneuver.
Previous back assembly restricted wheels on shoulders and had no mobility.
Received ordered plastic sheets from USPlastics.com and a new cutting tool designed for cutting plastic.
Also received more nylon straps, Velcro, elastic straps, and strap buckles.
This week will try and complete back assembly box and attach hood to shoulders or back assembly with snap buckles or adjustable Velcro straps.
No homework this weekend so I had a lot of spare time to work on prowl project.
Found a plastic supplier online that ships acrylic sheets of solid colors both black and white in various thicknesses and sizes, at a decent price too.
Decided to reconstruct new back assembly, the original one was too wide and bulky with doors attached. I don't want to be limited going through doorways and such.
New back assembly with PVC joints for doors, inserted photo of original for comparison.
Front plates for abdomen/stomach, used two-piece rivets with 1-inch nylon strap for movement flexibility
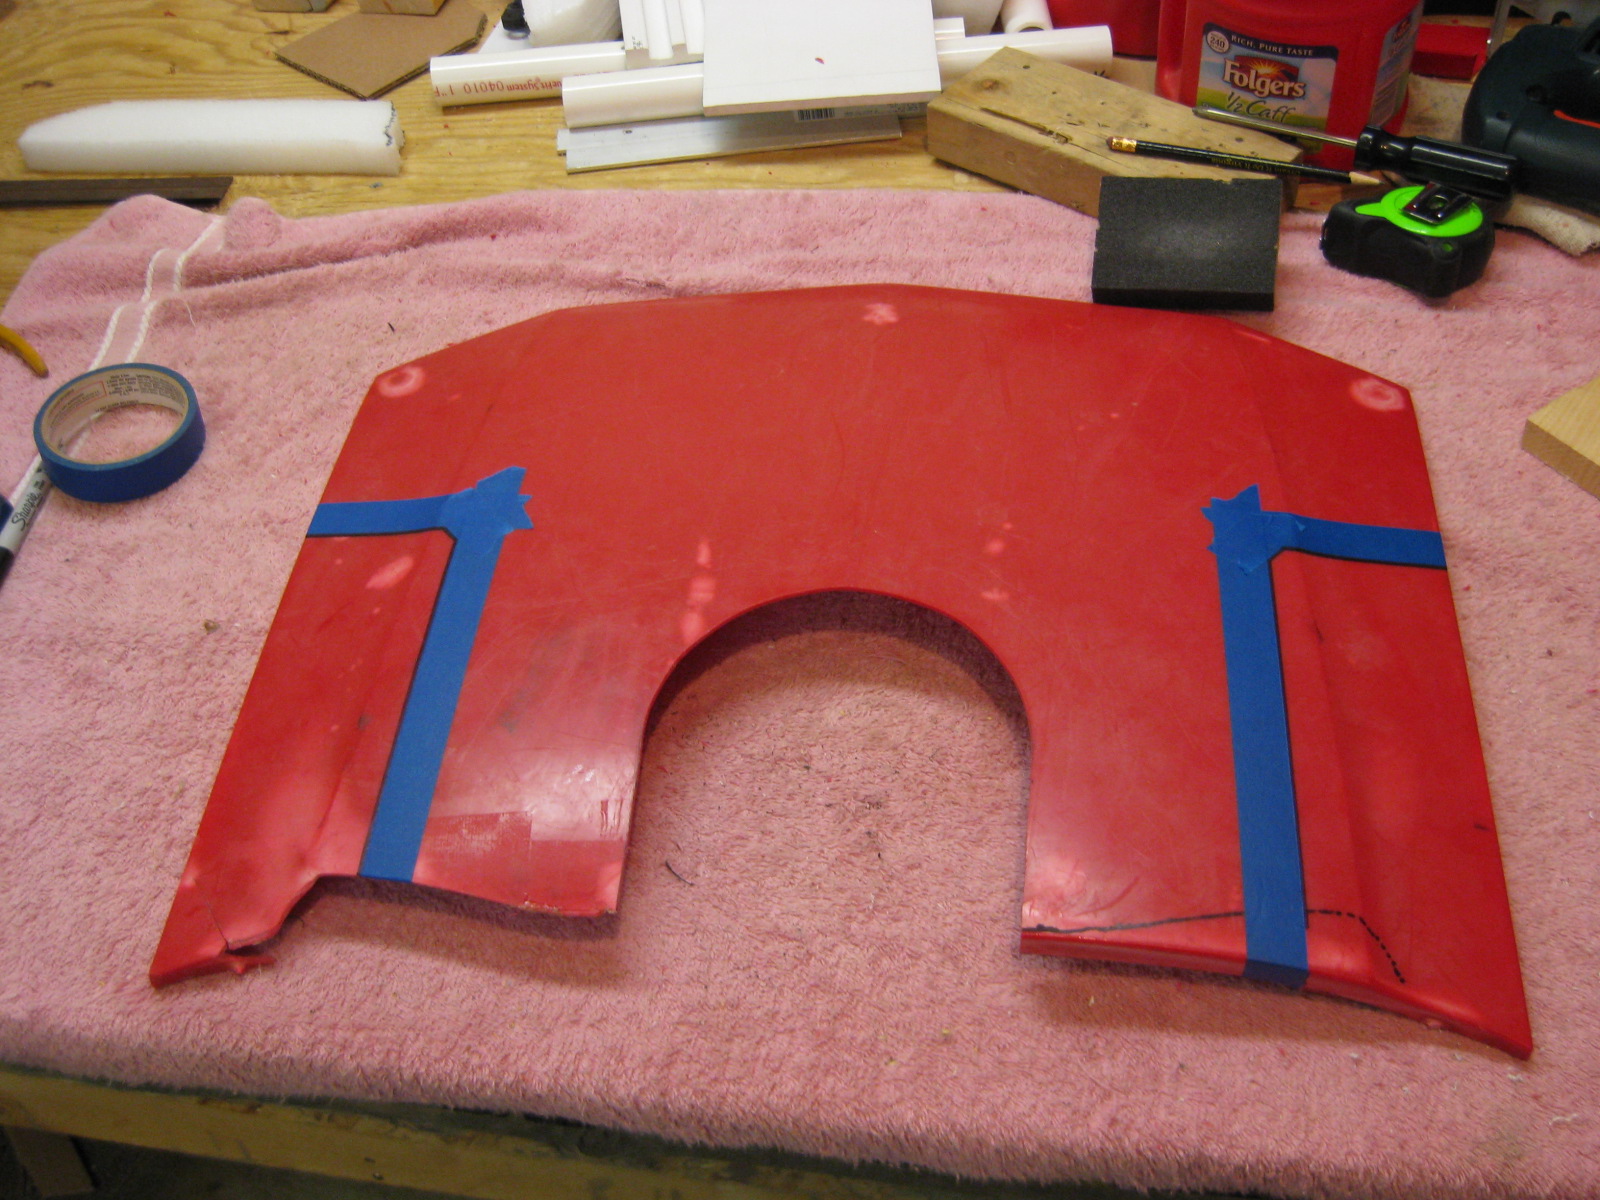
Marked areas on hood for shoulder cut-outs.
I sometimes get second thoughts about making certain cuts that can't be undone, so I made sure the cuts on hood were what I wanted and measured correctly.
Primer grey belt sections and battery box.
I can't wait to start primer grey and painting major sections, getting tired of the red.
Inside shrouds for front grill assembly, cut the material pieces out of black plastic storage bins.
Light weight, thin and easy to cut to shape, I used cardboard templates first.


