Sunday, August 30, 2015

Torso Completed

Post #100 !!!
After attaching the front grill and placing decals, the main torso assembly is done !
It was easier to solder the headlights wiring before attaching grill, a few had to be done after.  
The shrink tube was easier to work with using a heat gun rather than gas torch.
Always double check your connections before final solder.
The Army Star decals turned out exactly as I hoped for on front fenders.


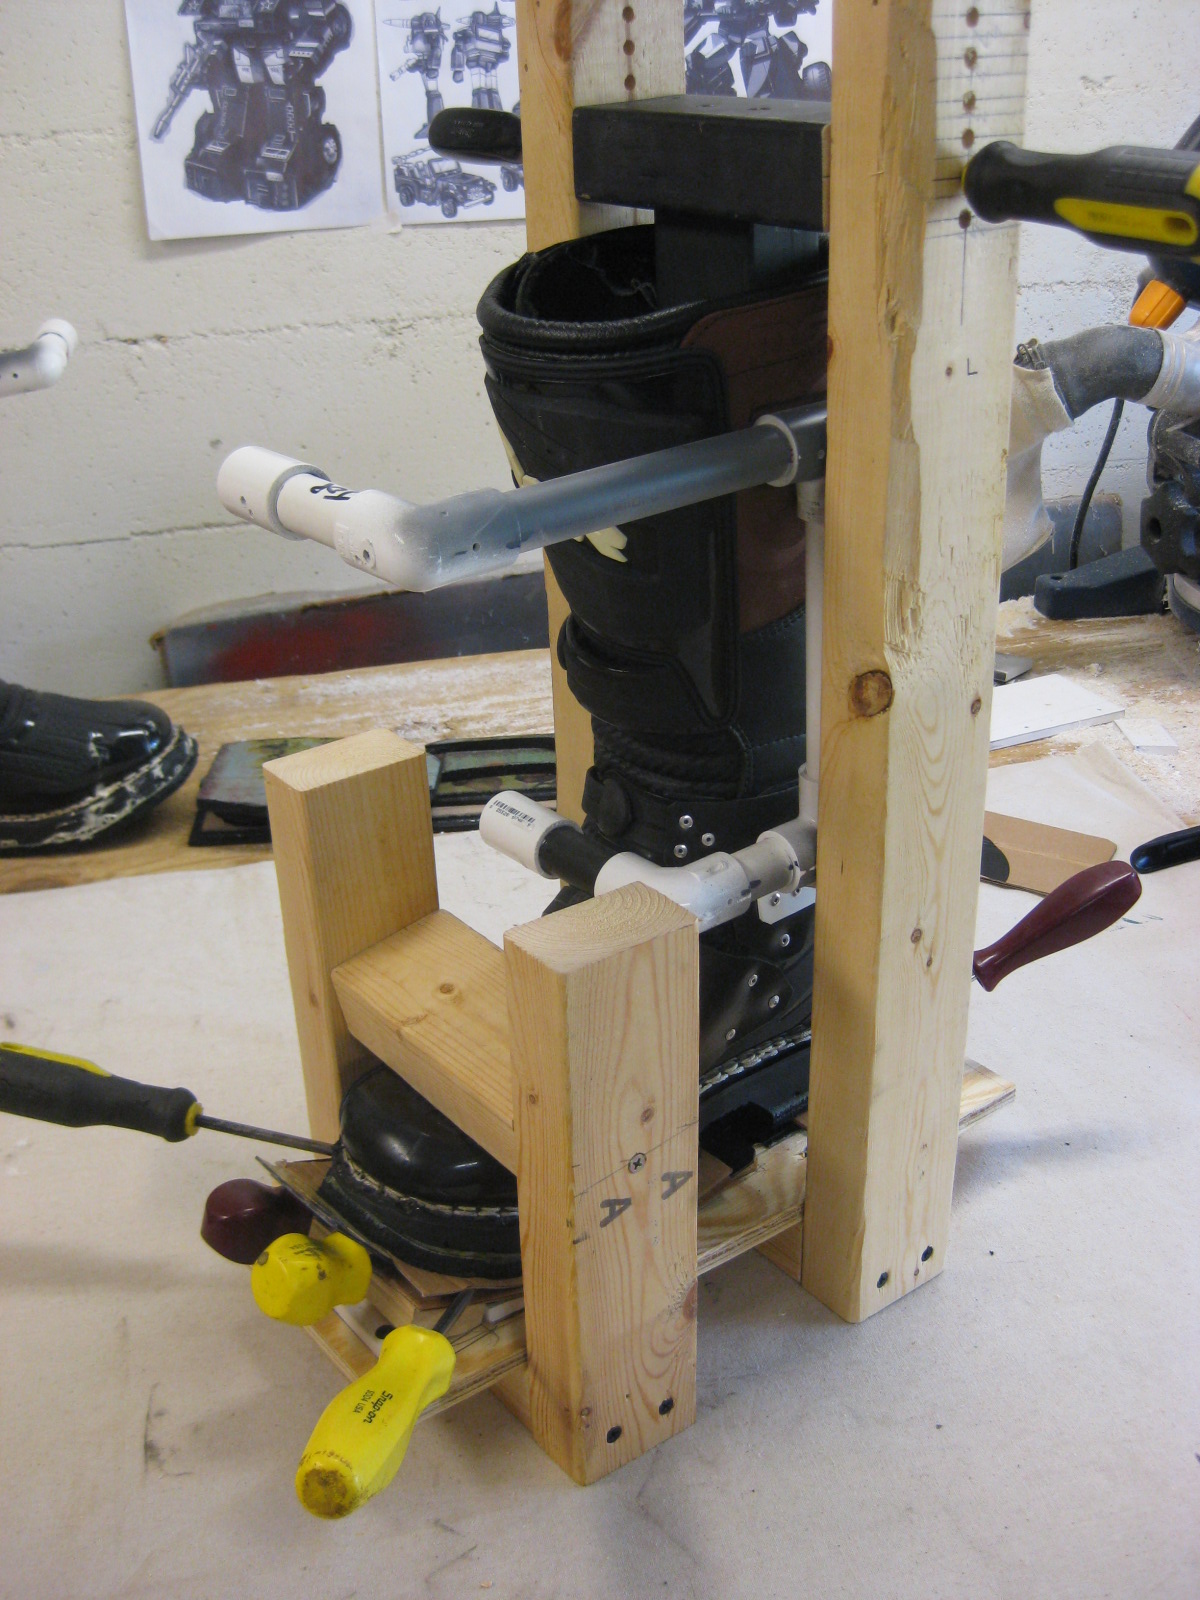
Also finished gluing on the left boot soles.
Trimmed the excess and sprayed a flat black.
Both lower leg pieces are assembled.  Tail-lights and decals placed.
Did a quick walk around with both legs completely assembled, I am pleased with results.


Yesterday I was tinkering with cardboard to get a basic idea on Helmet construction.

Thursday, August 27, 2015

This is a compilation of the past week and weekend.
Completed the front torso abdomen, used grey tote bin plastic riveted to the chest plate.

Final clear coat on both leg fenders.
Attached grey cover plate and the black roll-bars.


Assembled the right boot with leg fender and tried it on for a few minutes.   

On the chest assembly fenders and hood, I did added some clear packing tape where the two will be touching, similar to what I did on Prowl's hood.
Then I attached the Jeep hood clamps.  These are new hood clamps I ordered online at a Power-Wheels parts distributor, glad they came in color grey. 


This upcoming weekend will focus on attaching the front grill with headlights and getting the entire chest fender assembly completed.


Saturday, August 15, 2015

Saturday Progress

Today I finished the missile launcher mount by painting it grey and applying a clear coat.  Attached the launcher mount to the back, looks good with launcher and missile assembled.


Finished right boot sole, trimmed the excess rubber and sprayed it black.

Applied a final green coat on leg fenders. 

Put the Autobot decal on hood, looks awesome!


Friday, August 14, 2015

We Have Illumination

I got a working circuit on the headlights for the front grill.
Also used some smaller LED's for the lower running lights on the grill.  Didn't realize they were color blue until after glued in and tested circuit, oh well, they still look cool.

So far the first three boot sole layers turned out great.
Tried the boot on and walked around a bit, not as clunky and flat as the elevation boots on Prowl.
Glued the fourth layer of rubber boot sole on right boot.
Need to make a hardware run for more contact cement to finish left boot.

Sunday, August 9, 2015

Gun , Boot Sole, and Painting

Gun for Hound 
Hand Weapon is completed.  Turned out awesome.
Used the Nerf Strongarm N-Srike Elite pistol.


Taped off the handle for two reasons, one - I liked the original color already there, two - because this the gun grip, keeping it original means less fading from gripping the handle.


For some reason the clear coat spray reacted weird on the metallic spray paint coat I did, it wanted to chemically strip the paint, weird.  So no clear coat, bummer.
Kept the barrel nozzle and trigger the original orange, kinda like it and there will be no issues or questions regarding it at conventions.
I made a plastic shroud to cover the ammo cylinder and rivet in place, turned out better than planned.  


The slide I painted black with clear coat and screwed it in place,using a black screw cover to hide the screw.


Boot Sole
After I glued on that first rubber sole to boot last weekend, I realized the upcoming difficulty of clamping on more as the sole got thicker in height.  So I crafted a make-shift frame around the boot that would enable me to add rubber sole pieces with applied clamped steady pressure.  Started with the other boot and used the contact cement on the first layer of soles.  Tomorrow I will remove boot to check results.


Fenders & Hood
I also sprayed a coat of green on both lower leg fenders.  I will have to do a second coat of green, noticed too many deep scratches and sand marks.
Also did a final clear coat on hood.


Headlights
Decided to just spray the inside of headlight funnels a chrome color spray paint instead of trying the reflective paper.